I hope your summer is going well. In some cases, your summer might be finished or nearly coming to a close. God bless you if that is your situation. As you are looking toward a new season of student choir ministry, I’m sure you are considering a litany of items that need your attention. While I’m sure they all deserve some focus, there is one item that unfortunately is often neglected—an item that is of a most personal nature: conducting gesture. For most of us, the last time we thought about our conducting skills was in an undergraduate conducting class or, if we are lucky, a graduate conducting class. But from then on, our philosophy has been “this is the way I’ve always done it.”
This is certainly not the arena for an extensive discussion of the nuts and bolts of gesture. After all, conducting gesture is not something to be read or discussed but executed; it is a physical activity performed by our bodies. In this two-part entry, I will simply offer some reminders about the basics of conducting gesture and then suggest a few practice exercises to help polish gestural skills.
Posture:
- Two important descriptors should be use here: Comfortable and Alert
- A good rule of thumb: conducting posture is similar to good singing posture
- Feet shoulder width apart; perhaps one slightly forward for stability
- Torso squarely positioned and level on the hips
- Rib cage slightly lifted
- Shoulders slightly back
- Head sitting level on the neck (not tilted to the side, forward, or backward)
Conducting Plane:
- This is not something you are going to fly. Rather, it is where your hand lands in space when it shows the “beat.” Remembering math class, the plane is an infinite “level” that extends out from your body.
- When your hand “clicks” to mark the beat, that happens at a specific location on the plane.
- The plane should be about belt/belly-button height. NOTE: Many church music directors have “pulpit plane.” They conduct too high because they always conduct behind a pulpit, preventing their arms/hands from coming down sufficiently.
- To imagine the plane, find a music stand and tilt it until it is completely flat standing in front of you. Raise the stand to belt/belly-button height to help you visualize the plane—where you should place the “beats” of the your conducting pattern.
- Why this location of the plane? Well, we don’t want the plane too high. You know the conductors who conduct up around the mouth or chest. This is ok momentarily for added emphasis, affect, or clarity. For the long term, however, we need a lower plane to help induce a deep breath from our singers and to position the arms in the center of the body.
Arms:
- Leave both of your arms at your side. Now slowly bring them up together like you are about to release a yo-yo and freeze at the position when you release the yo-yo. See where your hands rest. Compare that position with a plane that is belt/belly-button high. Make adjustments as necessary. Practice the exercise again, finding the appropriate position of the plane.
- There should also be some space between the torso and the arms when they are extended for conducting—enough space to put your other fist between your arm and torso.
- Elbows should be slightly forward from the torso (not right next to the torso) when conducting.
Hands/Wrist:
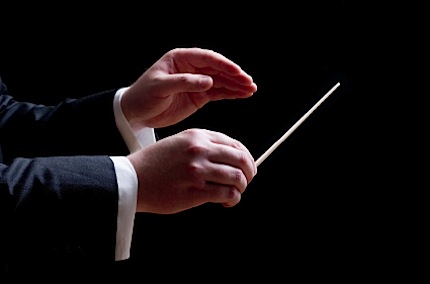
- The hand must be perceived as a unit. Keep the fingers slightly together; don’t let them spread.
- Palms to the floor. Don’t turn the wrist like a “chopping” motion. This compromises the clarity and visual power of the hand.
- Wrists should be somewhat flexible—not rigid, unless for articulation affect.
- Never let the hands cross each other in front of the body, like forming an “X.” Remember the movie “Ghostbusters?” (“Don’t cross the streams.”) This compromises the clarity and location of the hands/wrists.
With these basics in mind, practice conducting through a piece or two that is familiar to you. In the next entry, we will look at a few exercises to further stretch our minds and bodies on this journey of polishing our arsenal of conducting tools.


